How to make a pinhole camera
Ingriedients:
1 round container
1 sharp knife
Black duck tape or gaffa tape
A sharp pin
Black paint and a brush
Aluminium foil
A pair of scissors (optional)
1. First, get a round container, like a cocoa tin or any other type of tin. Make sure it has a removable lid and that it is completely light proof and doesn't allow any light to enter.
2. Paint the inside of the tin. This is because it stops the light bouncing around inside the contraption, and that the light directly hits the piece of paper at the back. The lid should be able to conveniently able to be removed and also light proof.
3. Cut a hole roughly half way up the tin.
4. Cut a small square of aluminium foil, making sure it is identical to the hole you made in the can. Then attach the square piece of tin foil to the pin hole equipment.
5. Now its time to make a shutter for your new pinhole camera. I would recommend using card for this next step, however you can use the alternative of using tape.
Cut out a square piece of card or tape and make sure it is roughly the same size as the pin hole camera. Apply this to the front of you camera, making sure it is appropriate.
6. In a darkroom, cut out a piece of photographic paper, to fit the camera making sure the paper is secure with a piece of tape inside the camera. It should be able to fit during the whole process of shooting the film.
7. Take the camera out to a location with lots of light, begin by allow light inside the camera and make sure that it is secure and that it is not moved during the process. Depending on the amount of light, the process should take an average of one minute however if there is a lack of light then it may take longer.
8. At the end of the exposure take the camera back to a dark room. Carefully remove the paper and put it in a series of chemicals.
-developer
-stop bath
-fixative
9. Allow the paper to dry, well done you have created an image from a homemade pin hole camera.
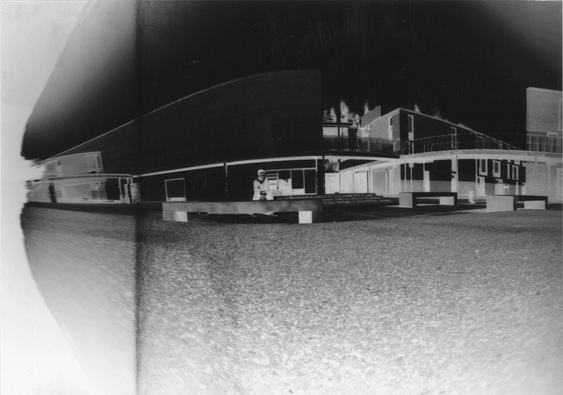
This was the picture which my group and myself created using a pin hole camera which we made in class.
